How to install a camping lantern on a tent pole?
Installing a camping lantern on a tent pole can significantly enhance your camping experience. As a camping lantern supplier, I've witnessed firsthand how a well - placed lantern can transform a dark and cramped tent into a cozy and well - lit space. In this guide, I'll walk you through the steps of installing a camping lantern on a tent pole, and also introduce some of the great products we offer.
Choosing the Right Camping Lantern
Before you start the installation process, it's crucial to choose the right camping lantern for your needs. We offer a variety of camping lanterns, each with its own unique features.

The Warm Light Lantern is perfect for those who want to create a warm and inviting atmosphere inside the tent. Its soft, warm light mimics the glow of a campfire, making it ideal for relaxing evenings.
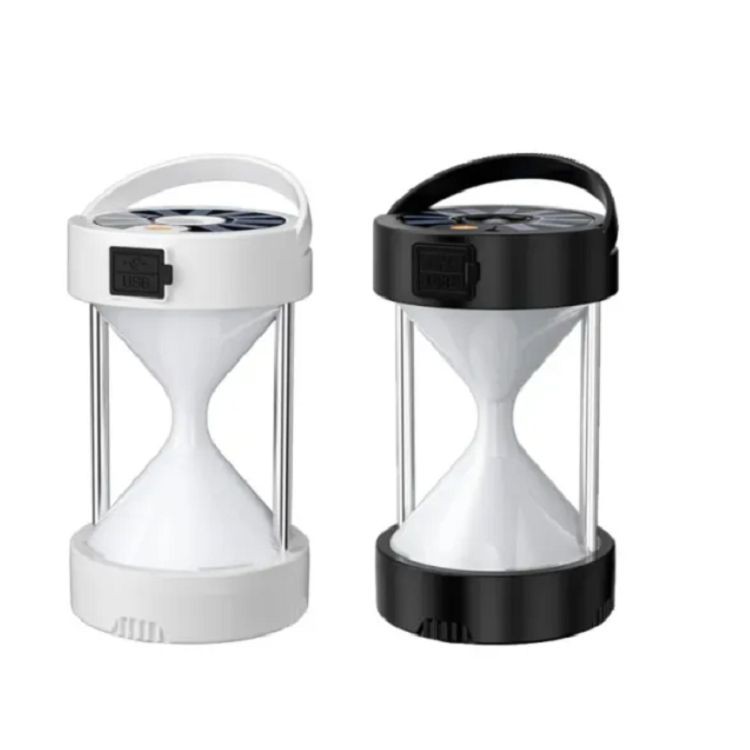
If you're looking for a lantern that is both convenient and energy - efficient, the Rechargeable Led Lantern Light is a great choice. You can easily recharge it using a USB cable, and the LED bulbs provide bright and long - lasting light.
For those who need a powerful light source, especially for activities like reading or map - reading inside the tent, the Super Bright Led Lantern is the way to go. It emits an intense beam of light that can illuminate the entire tent.
Tools You'll Need
Once you've chosen your camping lantern, gather the necessary tools for installation. Most camping lanterns come with their own mounting hardware, but you may also need a few basic tools:
- Screwdriver: A small Phillips or flat - head screwdriver may be required to attach the lantern to the mounting bracket.
- Adjustable Wrench: If your lantern uses a clamp - style mounting system, an adjustable wrench can help you tighten the clamp securely.
- Measuring Tape: To ensure that the lantern is installed at the right height and position, a measuring tape can be very useful.
Step - by - Step Installation Process
Step 1: Prepare the Tent Pole
First, clean the area on the tent pole where you plan to install the lantern. Remove any dirt, dust, or debris that could prevent the mounting hardware from attaching properly. If the tent pole has a smooth surface, this step is relatively straightforward. However, if the pole has a textured or painted surface, use a mild cleaner and a soft cloth to clean it.
Step 2: Assemble the Mounting Bracket
Most camping lanterns come with a mounting bracket that needs to be assembled. Carefully read the instructions provided with your lantern. Usually, you'll need to attach a few small parts together using screws or clips. Make sure all the parts are securely fastened.
Step 3: Attach the Mounting Bracket to the Tent Pole
There are several ways to attach the mounting bracket to the tent pole, depending on the type of bracket and the design of the tent pole.
- Clamp - Style Mounting: If your lantern uses a clamp - style mounting bracket, place the bracket around the tent pole at the desired height. Use an adjustable wrench to tighten the clamp until it is firmly attached to the pole. Make sure the bracket is level and centered on the pole.
- Screw - On Mounting: For a screw - on mounting bracket, align the holes in the bracket with the pre - drilled holes on the tent pole. Insert the screws and use a screwdriver to tighten them. Be careful not to overtighten the screws, as this could damage the tent pole.
Step 4: Attach the Lantern to the Mounting Bracket
Once the mounting bracket is securely attached to the tent pole, it's time to attach the lantern to the bracket. Most lanterns have a simple locking mechanism that allows you to snap or slide the lantern onto the bracket. Follow the instructions provided with your lantern to ensure a proper fit.
Step 5: Adjust the Angle and Position
After attaching the lantern, adjust its angle and position to get the best lighting效果. You may want to direct the light towards the center of the tent or towards a specific area, such as your sleeping area or a table. Most lanterns can be tilted or swiveled to achieve the desired angle.
Tips for a Successful Installation
- Test the Lantern Before Installation: Before you install the lantern on the tent pole, test it to make sure it is working properly. This will save you time and frustration if you encounter any issues.
- Consider the Weight of the Lantern: Make sure the tent pole can support the weight of the lantern. If you're using a lightweight or flimsy tent pole, you may need to reinforce it or choose a lighter lantern.
- Install at a Safe Height: Install the lantern at a height that is out of reach of children and pets, and also away from any flammable materials inside the tent.
Troubleshooting
If you encounter any problems during the installation process, here are some common issues and solutions:
- The Lantern Won't Stay in Place: Check if the mounting bracket is securely attached to the tent pole. Tighten any loose screws or clamps. If the problem persists, the mounting bracket may be damaged and need to be replaced.
- The Light is Flickering: This could be due to a loose connection or a problem with the battery. Check the battery connections and make sure the battery is fully charged. If the issue continues, the lantern may have a faulty bulb or electrical component.
Contact Us for Purchasing
We understand that a well - lit tent can make your camping trip more enjoyable. If you're interested in purchasing any of our camping lanterns or have any questions about installation or product features, we'd love to hear from you. Whether you're a seasoned camper or a beginner, our team of experts is ready to assist you. Reach out to us, and let's start a conversation about how our camping lanterns can enhance your next outdoor adventure.
References
- Camping Equipment Manuals: The manuals provided with your camping lantern and tent can offer valuable information on installation and usage.
- Outdoor Camping Magazines: Many outdoor magazines publish articles on camping gear and how to use them effectively.